How to Add a Custom Image Overlay to Google My Maps
By Ido Levitt ·
Google My Maps won't import an image overlay from a KML file. The workaround is to turn your design into shapes, lines, and icons, which My Maps does import - and that is what Maptide's KML export produces.
The short answer
You can't put a picture on top of a Google My Maps map by importing a KML image overlay. My Maps drops it. What does work is rebuilding the design as vector features - polygons, lines, and icons - and importing those. Maptide is a design tool built for that: you draw the overlay on the real map and export a KML file that My Maps accepts, so you end up with one shareable Google Maps link.
This guide explains why My Maps rejects image overlays, compares the realistic options, walks through the Maptide route step by step, and is upfront about what it can't do.
Why Google My Maps rejects image overlays
Google's own help page on importing data into My Maps lists the KML features that may not import. "Image and screen overlays" is on that list, next to things like KML tours, 3D models, and time-based elements. So if you build a KML file with a ground overlay - an image stretched over a rectangle of the map - and import it into My Maps, you should expect the image not to show up.
The same page also sets a size cap: KML and KMZ files can be up to 5 MB when unzipped. That matters for any design-heavy map, because a detailed overlay made of many shapes can get large. It is worth checking the size of your export before you import it.
None of this means you can't have a custom-looking map. It means the custom look has to be made of the things My Maps can draw natively: filled polygons, lines with a color and width, and point markers with icons.
Source: Google My Maps Help: Import map features from a file
Your options, honestly compared
There are three realistic routes. Each has a real cost.
Option 1: a ground overlay in Google Earth. KML defines a ground overlay element for exactly this job, and Google Earth is built around KML, so this route does let you pin an image to the map. The catch is the audience. The result is a Google Earth file, not a My Maps share link. Your guests would need Google Earth, or you would need to ship them a file, rather than sending a link that opens in the Google Maps app or browser they already use.
Option 2: trace the design by hand in My Maps. This is free and it stays inside Google's own tools. My Maps lets you draw lines and shapes, color them, and add icons. The cost is time and look: tracing a detailed site plan point by point is slow, and the default styling makes it hard to get something that looks designed rather than drawn.
Option 3: design it in Maptide and export KML. You place shapes, routes, and icons directly on the real map, style them, and export a KML file. Because the export is made of shapes, lines, and icons - the features My Maps imports - the design arrives intact. You import it once and share the My Maps link. The trade-off is that you are working with vector shapes and icons, not a photo or flattened artwork.
Step by step: from design to a shareable My Maps link
The steps below are the whole workflow.
- Open the Maptide editor. Sign in with a free account. Creating a map requires a free Maptide account; the editor itself runs in your browser.
- Find your location. Pan and zoom the map to the place you are designing for, such as the venue, festival grounds, or campsite.
- Draw zones and routes, and place icons. Sketch the areas, paths, and points of interest your guests need, and place icons from the library on top of the real map. Style them with colors that read clearly.
- Upload an SVG if you have vector artwork (Pro). On a Pro plan you can upload a custom SVG, such as a logo or a site plan drawn as vector shapes, and place and resize it on the map. SVG upload is a Pro feature. A JPG or PNG photo won't work.
- Export the KML file. Export your design as KML. The Free plan adds a watermark to the export; Pro removes it. Check that the file stays under Google My Maps' 5 MB limit for unzipped KML.
- Import the file into Google My Maps. In Google My Maps, choose Create a new map, click Import, and upload the KML file you exported.
- Share the link. Use the share settings in My Maps to get a link. Anyone with it can open the map in the Google Maps app or browser they already have, with no account or install needed to view it.
What changes for your guests
The point of going through My Maps is what happens on the other end. People you share the map with open it in the Google Maps app or browser they already have - they don't need an account or an install to view it. Because it is a real Google My Maps map, the usual Google Maps behavior applies: guests can zoom and pan, get directions, and see where they are on the map, rather than squinting at a flat image.
You can also keep improving the map after you share it. Make your changes in Maptide, export a new KML file, and re-import it into your existing My Maps map. The share link stays the same.
Limits, honestly
A photo can't become an overlay. A raster image, such as a JPG or PNG, can't go into My Maps as an overlay through any route described here. Maptide works with vector shapes and SVG artwork, not photos. If your design only exists as a flattened picture, you would need to redraw it as shapes and icons (or have a vector version made) first.
SVG upload is a Pro feature. On the Free plan you can still draw zones and routes and place icons from the 2,000+ monochrome icon library. Uploading your own SVG is part of Pro, which is $14/mo or $140/yr, along with no watermark, satellite view, save/load, and PDF export.
The Free plan exports with a watermark. Pro removes it. See the pricing page for the full plan comparison.
Keep the export under My Maps' 5 MB limit. If an import fails or the map looks incomplete, a very large or very detailed design is the first thing to check. Simplify the busiest areas and export again.
Maptide is not a GIS tool. It designs map overlays that people navigate - event grounds, venues, routes, and zones - and exports KML only.
An example of what the result looks like
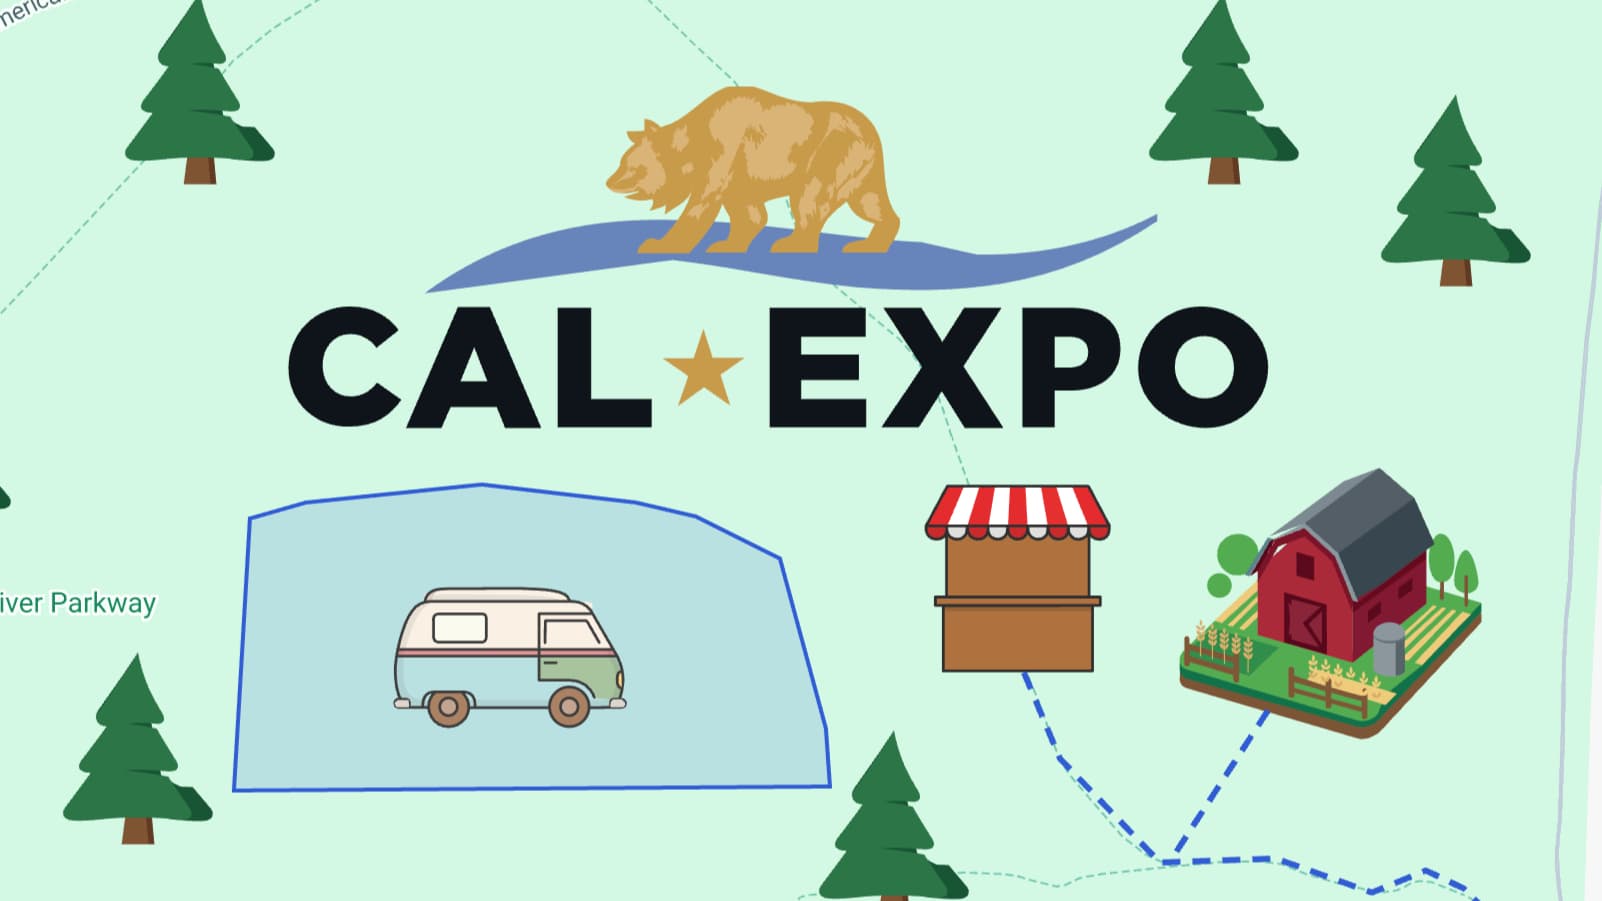
The map pictured above is the California State Fair 2026 fairgrounds map at Cal Expo, built with Maptide and shared as a normal Google Maps link. It is made of drawn zones, labeled areas, and icons placed on top of the real map - not an image laid over it. That is the kind of result this workflow gives you.
FAQ
Can I import an image overlay into Google My Maps?
No, not reliably. Google's My Maps import help lists image and screen overlays among the KML features that may not import. The workaround is to rebuild the design as shapes, lines, and icons, which My Maps does import.
Can I use a JPG or PNG as a map overlay in Google My Maps?
No. A raster photo can't go into My Maps as an overlay through any route. Maptide works with vector shapes and SVG artwork, so a flattened picture would need to be redrawn as shapes and icons first.
What is the file size limit for importing KML into Google My Maps?
Google's help page says KML and KMZ files can be up to 5 MB when unzipped. If your export is larger, simplify the design and export again.
Do I need Maptide Pro to follow this guide?
No. The Free plan lets you draw zones and routes, place icons, and export KML with a watermark. Pro ($14/mo or $140/yr) removes the watermark and adds custom SVG upload, satellite view, save/load, and PDF export.